This is a long one so I’ll get going as quickly as possible. What follows is a step by step guide to how I painted my latest batch of Otherworld Models, the Fire Beetles.
Ok so let’s get started. The Beetles come with the very nice Dungeon Bases. I undercoated everything black, attached the antenna to the beetles and then set to work painting the bases. First the cobbles were painted Dark Grey.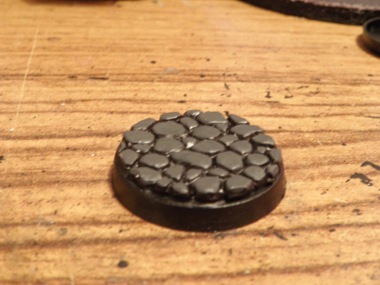 Next I picked out several cobbles in different shades of grey. This particular colour is Sand and Dark Grey mixed.
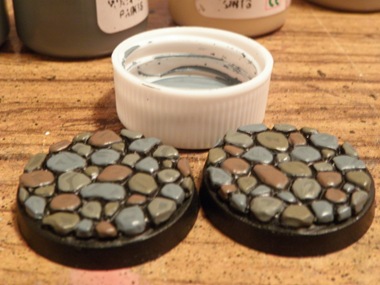
 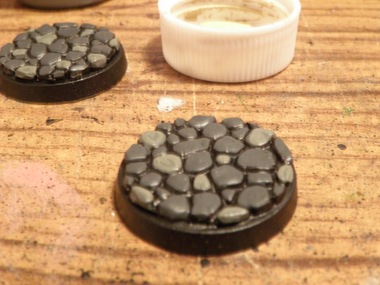 I then highlighted it by adding a bit more Sand to the mix and just slapping the paint on randomly til I was happy. I then repeated this process with three other Grey mixes. Khaki and Dark Grey, Leather Brown and Dark Grey and Blue Grey and Dark Grey, adding extra of the non-grey colour to the mix to get a highlight. Which left the bases looking like this…
 Time to start the Beetle. You may think I’ve lost my mind but here goes. I painted the whole thing Mid Blue. The carapace and antenna Chocolate Brown and the eyes Burgundy.
 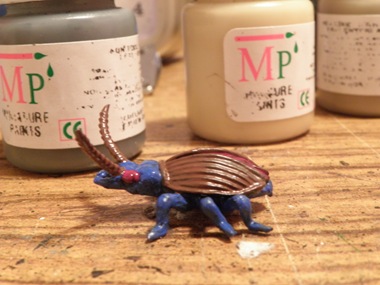 Yup, that’s one blue beetle. Next I started adding detail I would later almost eradicate. Using Blue Grey I gave the beetles legs a segmented feel by painting the “edges”. I then applied a coat of dots all over the entire thing, you wont see these on the finished model unless you hold it up to your eye, but that’s why they are there… They add depth… trust me… why are you looking at me like I’m mad?
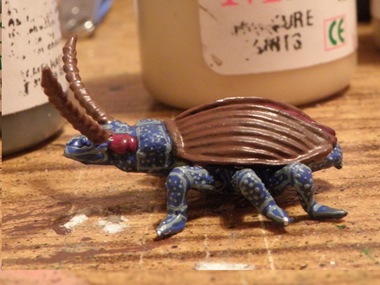 And yes… when I say all over I mean all over…
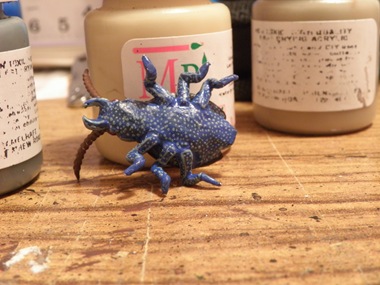 It is probably completely unnecessary to do the underneath but it gives me a sense of completeness and realism (in a game about Dragons… sigh). Next I added a series of Royal Purple dots to give a variation in the pattern.
 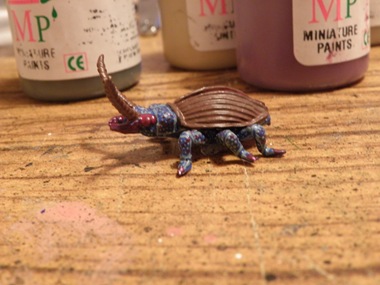 I also painted the mandibles and feet tips with Royal Purple. Next I highlighted the ridges in the carapace and on the antenna. I started with Leather Brown, then a Leather Brown and Sand mix, finally the tips of the antenna were done with just Sand.
 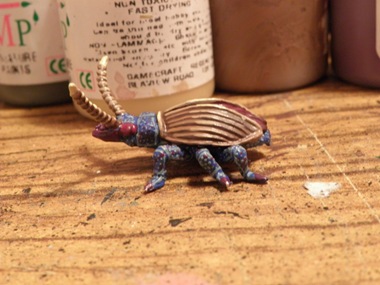 I know it looks like I’ve gone mad, but trust me… please. Next I did the wings. I painted them first with Burgundy, the highlighted with Purple, then Purple and White.
 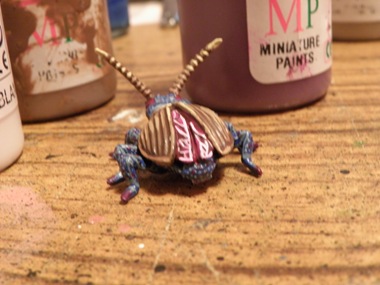 Next I added some Violet ink to the wings to bring the highlights down to a colour more suited to the beetle.
 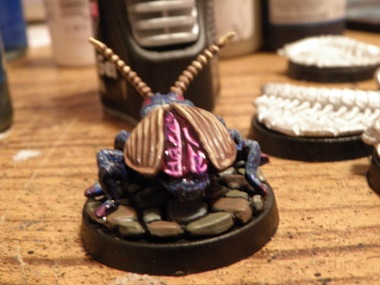 Now it’s time to obliterate all the hard work I’ve just done. I mixed up a ink wash with two drops of Blue, Violet and Black ink. I didn’t dilute this down. I was washed the underneath first, glued the model to the base then washed the top. The carapace and the antenna were washed with Flesh Wash and Black ink mix.
 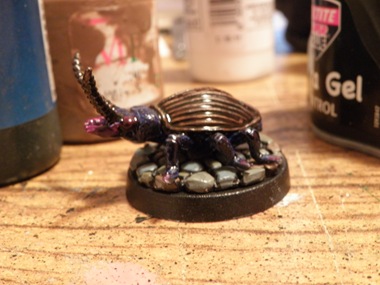 And I’m nearly there, just the eye left to do. I added another layer of Burgundy, followed by Deep Red, followed by Orange, followed by Yellow. Each subsequent layer leaving a little of the last exposed.
 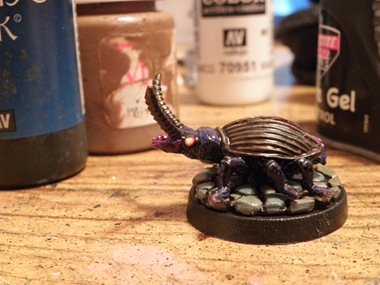 Then to make the eyes more luminescent I added a dot of White and then a smidgen of Yellow ink. Finally it was time to add the spill from the eyes. This is the first real “light” effect I’ve ever done and being a lighting technician I can tell you it’s not remotely realistic.
 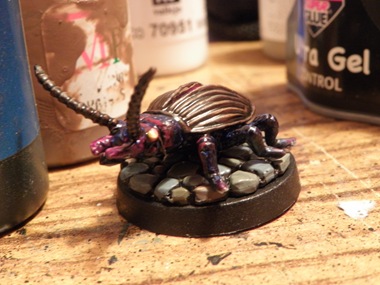 As you can hopefully see in the pic above I added Burgundy to top of the head, and the front side of the leg. I tried to add it very specifically to just sharp edges to give a nicer effect. I did not spill onto the flag stones or the antenna despite the physics argument for such a spill. I then highlighted the edged with a tiny strip of orange and that was that.
 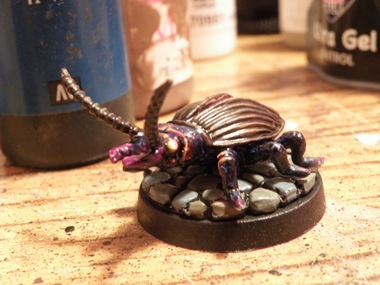 Leave the inks to dry and voila. There you have it. One complete Fire Beetle.
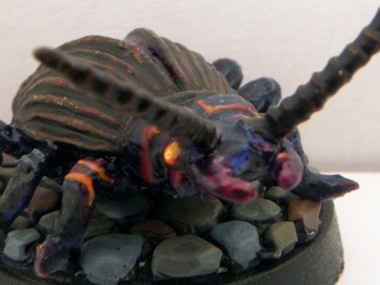
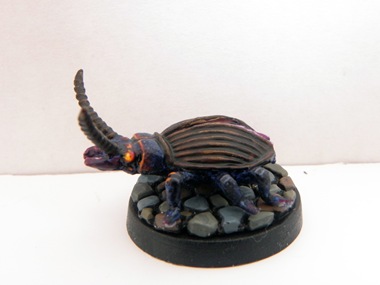
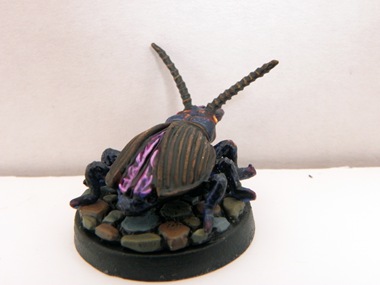 And here are his cousins painted in the exact same way. This paint job took quite a while because of all that dotting earlier, which considering it can barely be seen on the finished model may be considered a waste of time, but to me it gives a very satisfying result.
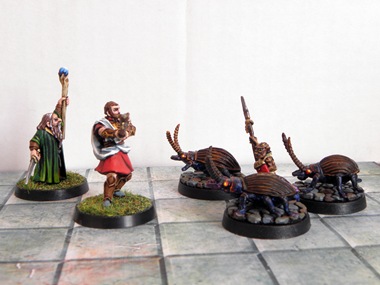
Excellent beetles.
ReplyDeleteHow did you attach the antennae ?
Pinning, just glue, green stuff or glue ?
Thanks Fabio.
DeleteI use a small ball of procrete (grey stuff but green works just as well) with glue either side of it. It can be worth drilling the hole out a little first to make way for the putty. Naturally I never bother, I'm a notoriously lazy modeler!
The procrete offers a porous surface that the metal bonds to faster and then dries solid creating a strong bond.
Glad you like the minis. Keep checking back for more stuff.
Chris